
Taxfyle works with 1099s, W-2s, 1098s, and the other income tax forms you received this year. You can upload them yourself, and on most accounts you can skip the paperwork entirely and import them straight from the company that issued them.
What auto-import does
Auto-import connects to your payroll provider or financial institution and pulls your tax documents into your request for you. There's nothing to download, scan, or dig out of an old email. Auto-import isn't offered on every account, and not every provider is supported yet. Manual upload is always available, so you can mix the two: import what you can, upload the rest.
Step 1: Open your document checklist
After you complete the questionnaire and checkout, you'll land on Action required: Upload your documents. This screen lists everything we need from you, including the tax forms and personal details your Tax Pro will use to prepare your return. From here you can import your documents or upload them yourself.
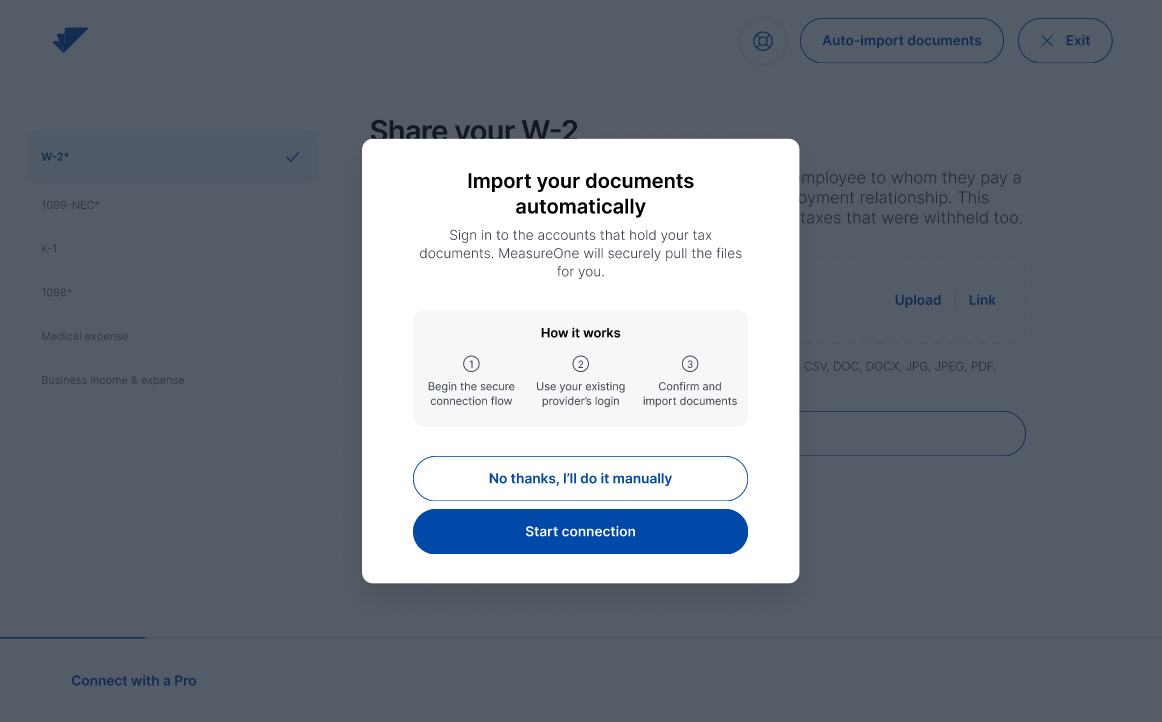
Step 2: Choose the type of account
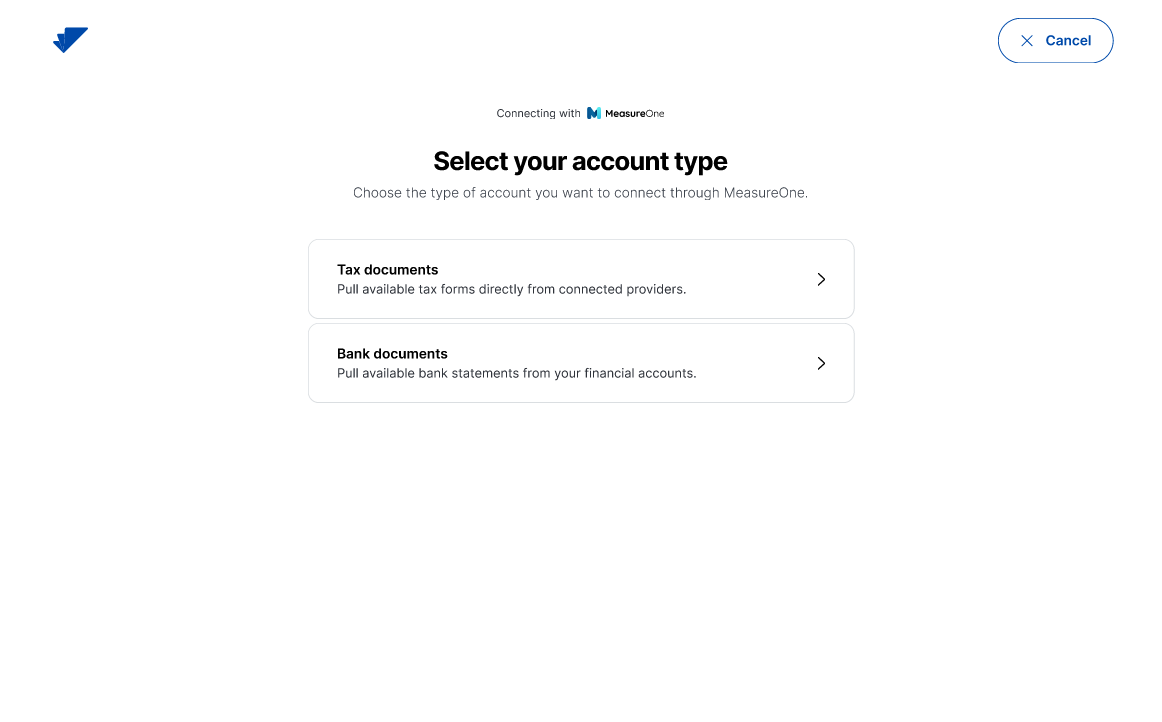
Select Auto-import documents to open the import window, then choose the kind of account you want to connect:
- Tax documents: W-2s and other forms from payroll providers such as ADP, Paychex, and Gusto.
- Bank documents: 1099s and other forms from financial institutions such as Robinhood, ETrade, and Fidelity.
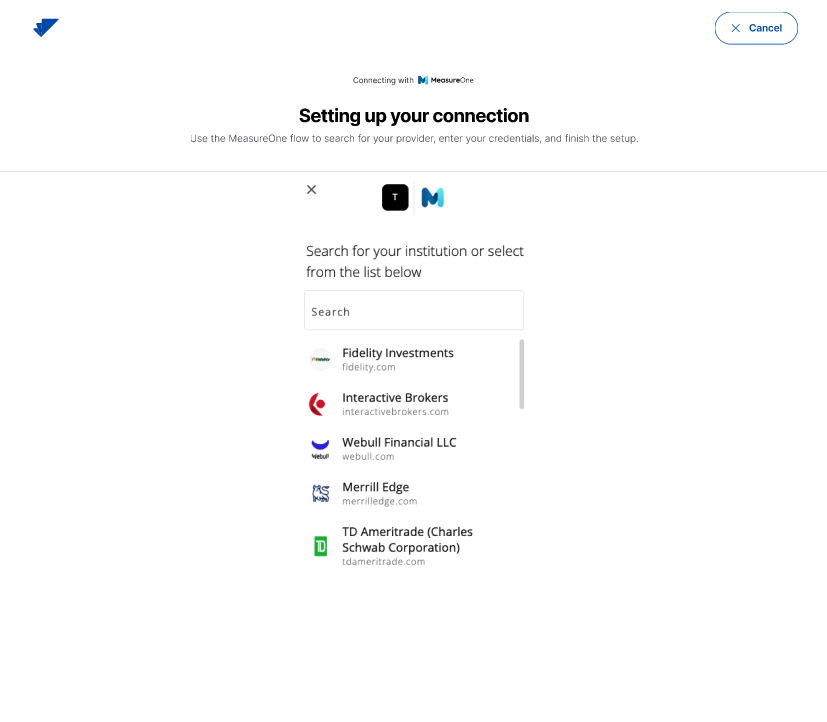
Step 3: Connect your account
- Search for your provider by name.
- Select it from the results.
- Sign in using the credentials you use for that provider.
- Authorize the connection so your documents can be retrieved.
You sign in directly with your provider. Taxfyle never sees or stores those credentials.
Step 4: Select your documents
Once the account is connected, you'll see the documents that provider has for you that are relevant to your return. Check the box next to each one you want, then select Import selected documents. Your documents upload to your request on their own. You'll see them in the Documents section alongside anything you uploaded manually.
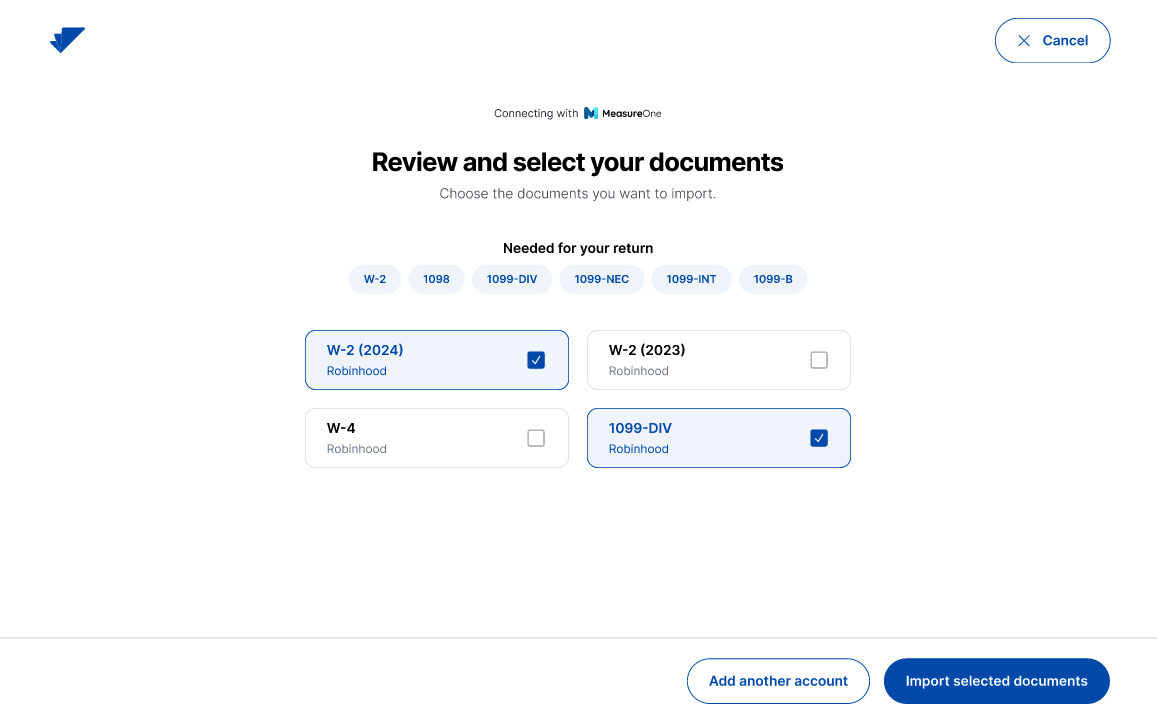
Step 5: Add another account
If your forms come from more than one place, select Auto-import documents at the top of the screen, then Add another account, and repeat the steps above. There's no limit on how many accounts you connect.
If something doesn't work
You see "Account currently not supported" Not every provider is available for import yet. Connect a different account if you have one, and upload anything else manually. Nothing is lost by uploading yourself: your Tax Pro treats imported and uploaded documents the same way. The connection is taking a while Some providers take a few moments to respond. Let the current connection finish before you start another one, or both may fail.
Need help?
If auto-import isn't working or you have questions about it, contact our support team.